
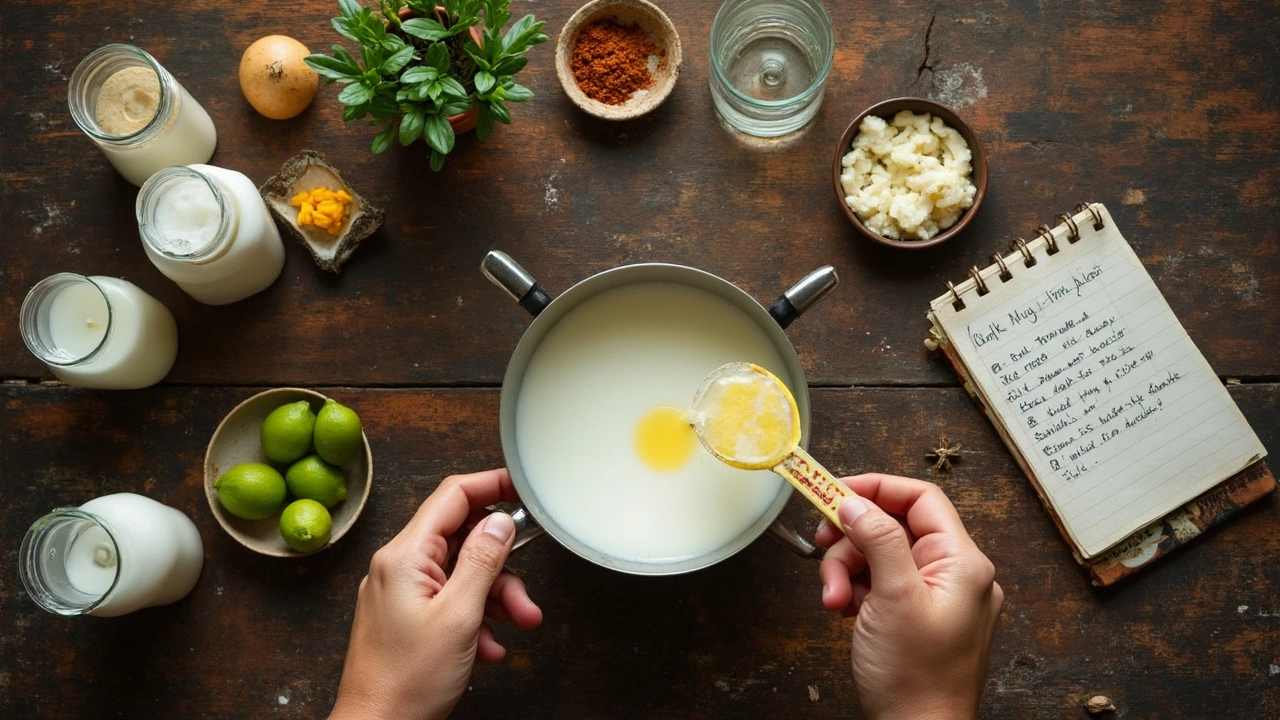
You prepped everything, set out the lemon juice or vinegar, let the milk warm up, but after that all-important acid pour, nothing happens. The milk just sits there, sulking, refusing to split into soft clouds and watery whey. Aarav’s already pestering me for homemade paneer for dinner, and here I am staring at a stubborn pot. If you’ve faced this, you aren’t alone. The great ‘why won’t my milk curdle?’ mystery has ruined more than a few kitchen adventures, and honestly, it can drive you nuts. But it always comes down to a handful of culprits—some obvious, some sneaky, and fixing them is usually much easier than most people expect.
The Science of Curdling: What Really Makes Milk Split?
If you want to beat a problem, you have to first know how it works. Milk curdling isn’t black magic—it’s straightforward chemistry. Regular cow's milk, which most of us use for making paneer, is basically a mixture of water, fat, protein (mostly casein), sugars (lactose), minerals, and a few other things. When you add acid—usually lemon juice, vinegar, or sometimes yogurt—it messes with the milk’s pH. Casein molecules carry a negative charge that normally keeps them floating apart. Acid lowers the pH, neutralizing these charges. When that happens, the proteins can finally bond, trapping water and fat, then forming curds. The watery stuff left behind is whey.
Fresh milk at around 70°C to 85°C (158°F to 185°F) is the sweet spot for this process. If your milk isn’t hot enough, the proteins are too comfy to move around and clump. Too hot, and they shrink up so fast the curds get hard and rubbery. The acid amount and type matter too—too little and nothing happens, too much and you get sour, crumbly cheese.
Some stats to chew on: Studies show that for the best paneer texture, the pH should reach close to 5.2–5.4. Any higher, and the milk isn’t acidic enough, leading to poor curd formation. Also, buffalo milk (with more fat and protein) reacts faster and forms firmer paneer, while skimmed or UHT milk barely budges.
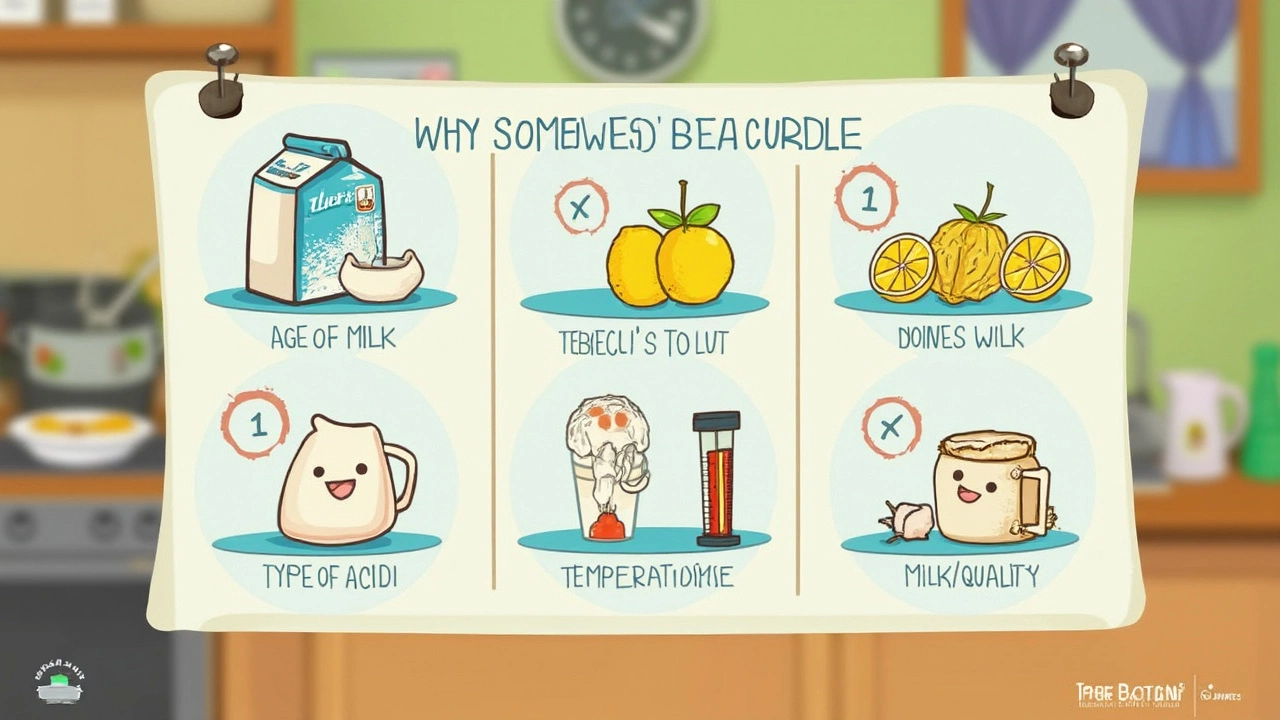
Why Milk Fails to Curdle: Culprits Hiding in Your Kitchen
When I once used a fancy tetra pack labeled “fresh,” I got nothing but warm, soupy sadness. The real troublemakers fall into a handful of buckets:
- Ultra-High Temperature (UHT) or Long-Life Milk: UHT milk is heated to at least 135°C (275°F), killing bacteria, but also destroying milk proteins. These proteins just won’t clump, so you’re left with watery milk and a red face. Almost every big brand shelf-milk is UHT in India and many other countries!
- Old or Spoiled Milk: If milk is already turning sour before you start, its pH is all over the place. Sour milk already has acid in it, but sometimes that causes proteins to denature unevenly. The result: stringy, weird soup that doesn’t hold together.
- Too Little (or Too Diluted) Acid: Using the juice of half a dry lemon or vinegar that’s been sitting open too long? If your acid is weak, the pH takes forever to fall, and curds barely form—or don’t at all.
- Wrong Temperature: Room temperature milk or boiling-hot milk won’t give proper curds. If you see only fine granules, overheating might be your villain.
- Wrong Type of Milk: Low-fat or skimmed milks produce tiny, rubbery curds because there’s less protein and almost no fat. A good paneer needs both.
- Additives or Preservatives: If the milk says “recombined,” “fortified,” or “homogenized” in extreme ways, look out. Some brands throw in stabilizers to keep milk looking fresh, but these can block acid from doing its magic trick.
I’ve built a quick reference table for all the common milk types and their paneer performance. Keep this handy when you shop or pick milk from your fridge:
| Milk Type | Temperature Needed | Curdling Reaction | Paneer Texture |
|---|---|---|---|
| Raw, Fresh Cow's Milk | 70–85°C | Excellent, quick | Soft, creamy |
| Pasteurized Full Cream | 70–85°C | Good, reliable | Rich, holds shape |
| UHT/Long Life | Very sensitive | Poor to zero | Sandy, barely forms |
| Low-Fat/Skimmed | 75–85°C | Slow, poor | Rubbery, crumbly |
| Reconstituted Powder | 70–80°C | Unreliable—depends on brand | Mixed results |
Acids That Work: Lemon vs. Vinegar vs. Yogurt
The secret isn’t just which acid you pick, but how you use it. Lemon juice (fresh, please!) is the old-school favorite for most home cooks in India. It’s easy to control, cheap, and leaves barely any aftertaste. But if your lemons are too dry or you use an old bottle of lemon juice, don’t expect much magic. White vinegar is the next most popular option—strong, fast-acting, but sometimes leaves a mild flavor. Even apple cider vinegar can work if you don’t mind a twist to the taste.
Yogurt is the classic for Bengali chhena and makes the softest, most pillowy curds. But it takes just a bit longer, and you need your yogurt to be tangy and thick. If you’re new, start with a tablespoon or two of acid per liter and adjust if you see the curds aren’t separating enough.
Acidity varies even among lemons and vinegars, so if you’ve tried and failed, try using a little extra next time. Here’s a mini-guide for how much acid usually works per liter of milk:
- Fresh lemon juice: 2–3 tbsp
- White vinegar: 1.5–2 tbsp
- Yogurt: 3–4 tbsp
If you have a pH strip lying around (the science geek in me always does), the curdling usually starts when you hit about pH 5.5 and is obviously visible by 5.2. Below this, the paneer gets too tart.
Here’s something most people don’t realize: city tap water can sometimes dilute your acid (especially if making a solution), if it’s too ‘soft’ or ‘hard’—with lots of minerals affecting pH. If it’s rainy season and your lemon seems less sharp, this could be affecting your batch!
Step-by-Step Troubleshooting: Salvage Your Paneer!
Sometimes despite our best efforts, things just don’t go right. Paneer is one of those kitchen adventures that welcomes troubleshooting. If you’re still sitting with uncurdled milk, read this like your kitchen lifeline:
- Heat Up Again: If the milk’s still not curdling, gently crank up the heat—don’t boil, just get it close to a simmer, then try adding the acid again. Proteins need warmth to move and clump.
- Add More Acid, Little by Little: Don’t dump in a cup all at once; go tablespoon by tablespoon, stirring gently after each addition. Look for the moment the whey turns clear, not milky.
- Switch Acid If Needed: Still stubborn? Try switching to vinegar—it’s stronger than lemon and almost always triggers a reaction if there’s any potential for curdling.
- Try Diluting Acid: Sometimes a very strong acid shocks the proteins before they can clump. Dilute the vinegar or lemon juice with an equal part of boiled and cooled water before adding steadily in a thin stream.
- Add Yogurt: A spoonful of yogurt, whisked in warm, can sometimes coax faint curds to clump if everything else fails, since yogurt brings lactic acid to the party.
- Last Resort—Start Over With New Milk: If you’ve done everything by the book, your milk might be the issue—check the box for UHT, date, fat % and try a different brand.
Don’t toss the leftover mess! Even if it didn’t fully curdle, use that milky mixture in dosa batter, curries, or knead it into dough for roti or paratha. It’s loaded with protein and vitamins.
If you end up with curds but they’re grainy or rubbery, let’s fix that too: Next time, lower the heat when adding acid and stir less. Over-stirring breaks soft curds into crumbs instead of chunky clouds.
Here’s a quick hands-on checklist:
- Bring milk to 85°C (just before boiling).
- Switch off heat, rest a minute.
- Add acid slowly, stirring gently.
- Watch for instant separation: if not, heat again and add more acid.
- Stop adding acid when whey is clear (not milky).
- Let it settle, then strain with muslin or clean cloth.
- Weigh down for firmer paneer or leave as is for soft curds.
It took me a few ruined pots and a lot of hungry, disappointed looks from Aarav to get this right. Once you understand the science, you really can troubleshoot anything the kitchen throws at you.
Making Perfect Paneer: Pro Tips from Real Kitchens
I’ve picked up a handful of killer tricks from home cooks, chefs, and my own late-night experiments. First, never use milk straight from the fridge. Cold milk takes forever to curdle, so always bring it to room temperature first. Good paneer is about patience and good milk more than fancy gadgets.
Avoid aluminum or reactive pots for boiling milk—use heavy-bottomed stainless steel or nonstick pans if you can. Acid can react with aluminum, changing the flavor and probably leaving behind something you don’t want to eat. Stir gently and slowly as soon as you add acid. Over-stirring breaks the curds into bits, making the final paneer crumbly and hard to shape.
After straining, always rinse the curds in cold water (filtered if your tap is iffy). This stops the cooking, washes away sourness, and keeps the paneer mild. If you want super smooth texture for malai paneer, knead the warm curds for a couple minutes before pressing.
For soft paneer, hang the curds for just 20–30 minutes before pressing. For a firmer, sliceable block, press under a heavy weight (a heavy steel pot works, or a clean brick in two plates) for up to 2 hours. Just remember, the longer you press, the drier it gets—so find your sweet spot.
If you care about protein, real paneer packs around 18 grams of protein per 100 grams, plus lots of calcium. But making it yourself means you skip the added salt, preservatives, and weird thickening agents so many packaged brands sneak in.
Make extra and freeze in cubes for curries. Just thaw in hot water for 10 minutes before using. Homemade paneer lasts up to three days in the fridge when stored in fresh water, changed daily. No preservatives, no fuss.
Here’s a truth you might not read on a packaged milk label: Only about 5% of paneer made in home kitchens across India uses UHT milk, but it’s over 70% among city folks ordering from apps. The success rate with UHT is so low that most chefs won’t touch it for cheese-making.
Once you’ve got your milk not curdling puzzle solved, making paneer is as reliable as making toast. Homemade paneer is not just about ticking a cooking box—it’s about that soft, bouncy, sweet flavor you can’t buy in any store. And trust me, once Aarav got used to homemade, he never wanted the packaged block again. Happy curdling!