Paneer Acid Calculator
Calculate Your Paneer Acid
Get the exact amount of acid needed for perfect paneer. Too much acid creates a sour taste, too little won't separate the milk properly.
Recommended Acid Amount
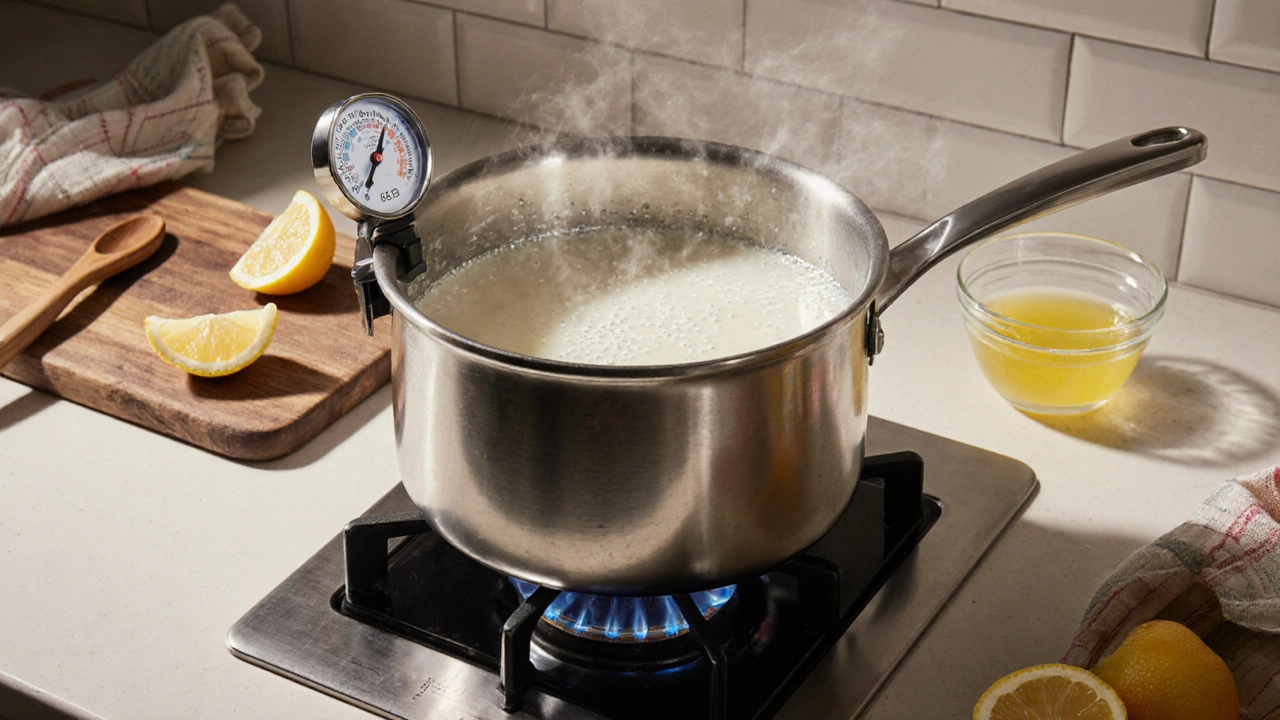
Temperature note: Milk should reach 85-90°C (185-194°F) for optimal curdling
Ever wondered why store‑bought paneer sometimes feels rubbery or bland? Making homemade paneer solves that problem in just 15 minutes, and you control the texture, flavor, and freshness. All you need is good milk, an acid, and a few kitchen tools. Below is a complete walkthrough that takes you from raw milk to a block of soft, milky cheese ready for curries, grills, or salads.
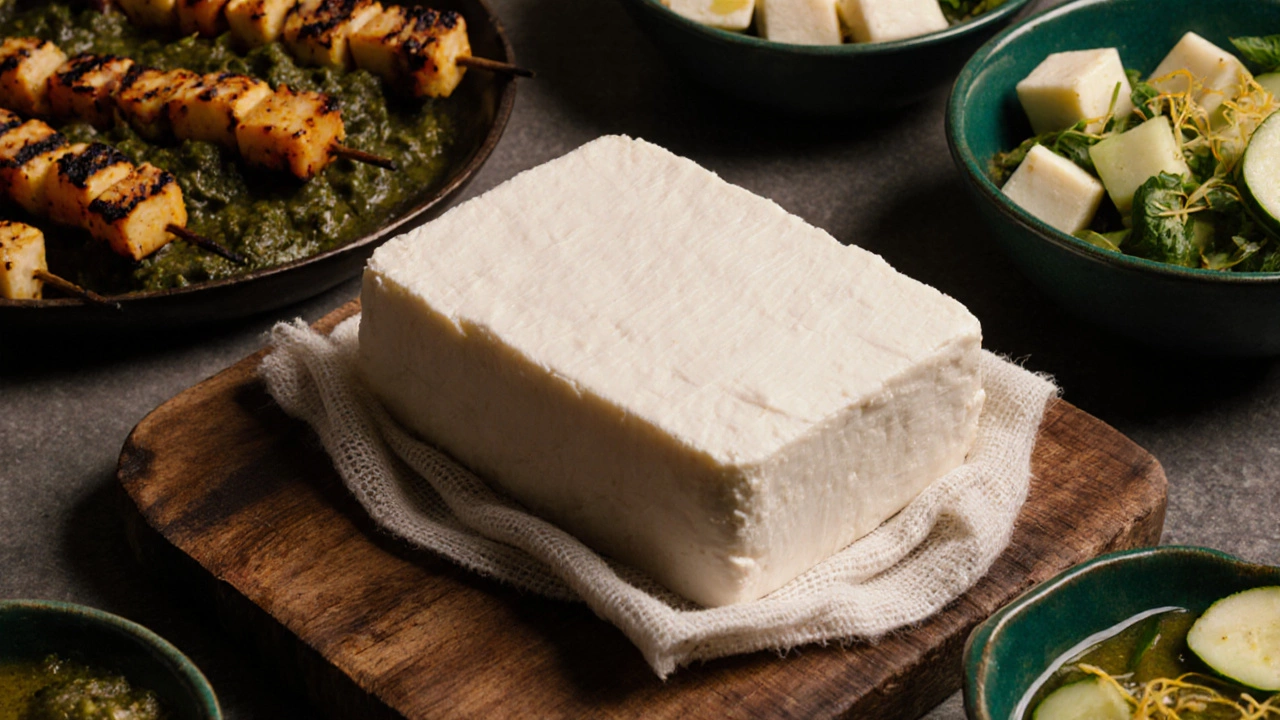
What is Paneer?
Paneer is a fresh, non‑aged cheese that originated in the Indian subcontinent. Unlike many Western cheeses, it does not melt when heated; instead, it retains a firm yet tender bite, making it perfect for dishes like palak paneer or paneer tikka. The cheese is created by curdling whole milk with an acid, then draining the whey and pressing the curds into a compact block.
Why Make Paneer at Home?
- Freshness: No preservatives, just the pure taste of milk.
- Texture control: Adjust firmness by varying pressing time.
- Cost: A litre of milk is cheaper than a pre‑packaged block.
- Customization: Add herbs, spices, or even smoked flavors.
Ingredients - Simple but Specific
- Whole milk (full‑fat, preferably unpasteurized or minimally processed) - 1 litre.
- Lemon juice - 2 tablespoons (or an equivalent amount of white vinegar or citric acid).
- Salt - ½ teaspoon (optional, for flavor).
- Cheesecloth or a clean muslin cloth - enough to line a colander.
- Whey - the liquid that separates from the curds; you can keep it for soups or protein shakes.
Equipment Checklist
- Heavy‑bottomed saucepan (3‑quart capacity).
- Thermometer - accurate to ±2 °C.
- Wooden spoon or silicone spatula.
- Colander set over a large bowl.
- Flat surface for pressing - a heavy plate or a clean brick wrapped in a towel.
Step‑by‑Step Process
- Heat the milk. Pour the litre of whole milk into the saucepan and heat over medium flame. Stir occasionally to prevent scorching. When the temperature reaches 85 °C (185 °F), you’ll see tiny steam bubbles forming around the edges.
- Bring to a gentle boil. Increase heat just until the milk hits 90 °C (194 °F) and starts to rise. Watch closely; milk boils over quickly.
- Add the acid. Reduce the heat to low. Slowly drizzle the lemon juice while gently stirring. Within seconds, the milk will separate into curds (white lumps) and whey (transparent yellowish liquid). If the curdling looks incomplete, add a splash more lemon juice.
- Let it rest. Turn off the heat and let the mixture sit for 5 minutes. This allows the curds to firm up.
- Strain the curds. Place the cheesecloth‑lined colander over a bowl. Pour the curd‑whey mixture through. The whey collects in the bowl; the curds remain in the cloth.
- Rinse (optional). For a milder taste, rinse the curds under cold water while still in the cloth. This removes residual lemon flavor.
- Press the paneer. Gather the corners of the cloth, twist to form a tight bundle, and place it on a flat surface. Set a heavy plate or brick on top and press for 15‑20 minutes. Shorter pressing yields a softer paneer; longer yields a firmer block.
- Unwrap and store. After pressing, unwrap the cheese. Cut into cubes or slices. Store in an airtight container with a little cold water in the fridge; it stays fresh for up to 4 days.

Understanding the Science - Why Acid Works
The milk proteins casein exist in micelles suspended in liquid. When you add an acid, the pH drops below the isoelectric point (≈4.6), causing the micelles to aggregate and form solid curds. This is the same principle behind making tofu, ricotta, and mozzarella.
Choosing the Right Acid - A Quick Comparison
| Acid | Amount per litre milk | Flavor impact | Availability (UK) |
|---|---|---|---|
| Lemon juice | 2 Tbsp (≈30 ml) | Bright, citrusy | Readily available |
| White vinegar | 1 Tbsp (≈15 ml) | Neutral, slightly sharp | Pantry staple |
| Citric acid powder | ½ tsp (≈2 g) | Clean, no after‑taste | Specialty stores |
Tips for Perfect Paneer Every Time
- Use full‑fat milk - the higher fat content gives richer curds.
- Don’t over‑heat; boiling past 95 °C can cause the proteins to toughen, making the paneer grainy.
- Measure the acid precisely; too much creates a sour taste, too little leaves whey unseparated.
- Press on a clean, flat surface; uneven pressure leads to lopsided blocks.
- Save the whey. It’s packed with protein and can be added to smoothies, soups, or used for making dough.
Common Mistakes and How to Fix Them
| Problem | Cause | Solution |
|---|---|---|
| Curds are watery | Acid added too early or insufficient | Heat milk to proper temperature, then add acid gradually. |
| Paneer tastes sour | Excess lemon juice or vinegar | Reduce acid amount; rinse curds under cold water. |
| Block cracks while pressing | Pressing too hard too quickly | Apply weight gradually; let curds settle for a few minutes before adding more pressure. |
Storing and Using Your Paneer
After pressing, wrap the block in the cheesecloth and store it in a bowl of cold water. Change the water daily to keep it fresh. For longer storage, cut into cubes, pat dry, and freeze in an airtight bag - thaw in the fridge before use.
Paneer is incredibly versatile. Here are three quick ideas:
- Paneer tikka: Marinate cubes in yoghurt, ginger‑garlic paste, and spices; grill or bake until charred.
- Saag paneer: Add cubed paneer to a simmering spinach gravy; it absorbs the sauce without falling apart.
- Paneer salad: Toss chilled cubes with cucumber, mint, lemon zest, and a drizzle of olive oil.
Nutrition Snapshot
One 100‑gram serving of homemade paneer (made from whole milk) provides roughly:
- Calories: 265 kcal
- Protein: 18 g
- Fat: 21 g (mostly saturated)
- Calcium: 208 mg (≈20 % of daily value)
Because you control the ingredients, you can make a lower‑fat version by using 2% milk, though the texture will be softer.
Frequently Asked Questions
Can I use skimmed milk to make paneer?
Yes, but the paneer will be less creamy and may crumble more easily. Adding a tablespoon of cream or butter during the heating stage can compensate for the lost fat.
Why does my paneer turn yellow?
The yellow tint usually comes from the milk’s natural carotenoids or from over‑heating, which can cause a slight caramelisation. Using fresh milk and keeping the temperature below 95 °C helps retain a white colour.
How long can homemade paneer be kept?
In the refrigerator, stored in water, it stays good for 3‑4 days. For longer storage, freeze the paneer in portions; it will keep for up to 2 months.
Can I add herbs directly to the curds?
Absolutely. Mix chopped cilantro, mint, or even crushed garlic into the warm curds before pressing. The flavors meld well and give a fresh twist to the cheese.
Is it safe to use unpasteurised milk?
In the UK, unpasteurised milk is sold under strict regulations. If you trust the source, it can be used and will yield a richer paneer. However, always heat the milk to at least 72 °C for 15 seconds (pasteurisation temperature) to eliminate harmful bacteria.
Next Steps - Experiment and Share
Now that you’ve mastered the basics, try variations: smoked paneer (smoke the pressed block over a tea leaf chimney), paneer with chili flakes for a kick, or a sweet version by adding cardamom and honey. Take pictures, note the changes, and share your creations with fellow cooks. The more you play, the better your paneer will become.
Happy cooking!