
Roti Shape Calculator
Perfect Roti Dimensions
Follow these ideal measurements for perfectly round, puffy roti:
Ever rolled out a roti only to end up with a lopsided, uneven disc that looks more like a potato chip than bread? You’re not alone. Making a perfectly round roti isn’t about luck-it’s about technique, touch, and a few simple tricks passed down through generations. And yes, it’s totally doable even if you’ve never made bread before.
Start with the right dough
The secret to a round roti begins before you even touch the rolling pin. Your dough needs to be soft, smooth, and just a little sticky-not dry, not wet. Use atta (whole wheat flour) specifically made for roti. Regular whole wheat flour won’t give you the same elasticity. Mix one cup of atta with a pinch of salt and just enough warm water to bring it together. Don’t add oil or ghee yet-that comes later. Knead for at least 8 minutes. Your hands should feel the dough becoming pliable, like playdough. If it cracks when you press it, add a teaspoon of water. If it sticks to your palms, dust on a little more flour. The goal? A dough ball that springs back slightly when you poke it.Rest it. Seriously.
Cover the dough with a damp cloth and let it rest for 30 minutes. This isn’t optional. During rest, the gluten relaxes. That’s what lets you roll the roti thin without it snapping back. Skip this step, and you’ll spend 20 minutes fighting your dough. After resting, divide it into 8 equal balls. Roll them between your palms until they’re smooth spheres. Don’t flatten them yet. Keep them covered.Flour your surface, not the dough
This is where most people mess up. Don’t roll the dough ball in flour before placing it on the board. That dries out the surface and makes it hard to roll evenly. Instead, dust your rolling surface lightly with atta. Place one dough ball in the center. Use the heel of your palm to press it down gently into a small disc-just enough to give the rolling pin something to grip. Now, start rolling from the center outward. Rotate the dough a quarter turn after every two or three rolls. This keeps the shape round. If you roll in one direction only, you’ll end up with an oval. Think of it like spinning a top-you’re keeping it balanced.Use the right rolling pin
A traditional Indian rolling pin (belan) is tapered at both ends. That’s not just for show. The thinner ends let you control the edges better. If you don’t have one, a straight wooden pin works, but you’ll need to be more careful. Avoid silicone or plastic pins-they’re too slippery. A wooden pin grips the dough just enough to help you shape it without tearing. If your roti keeps sticking, your surface isn’t floured enough-or your dough is too wet. Adjust before you roll the next one.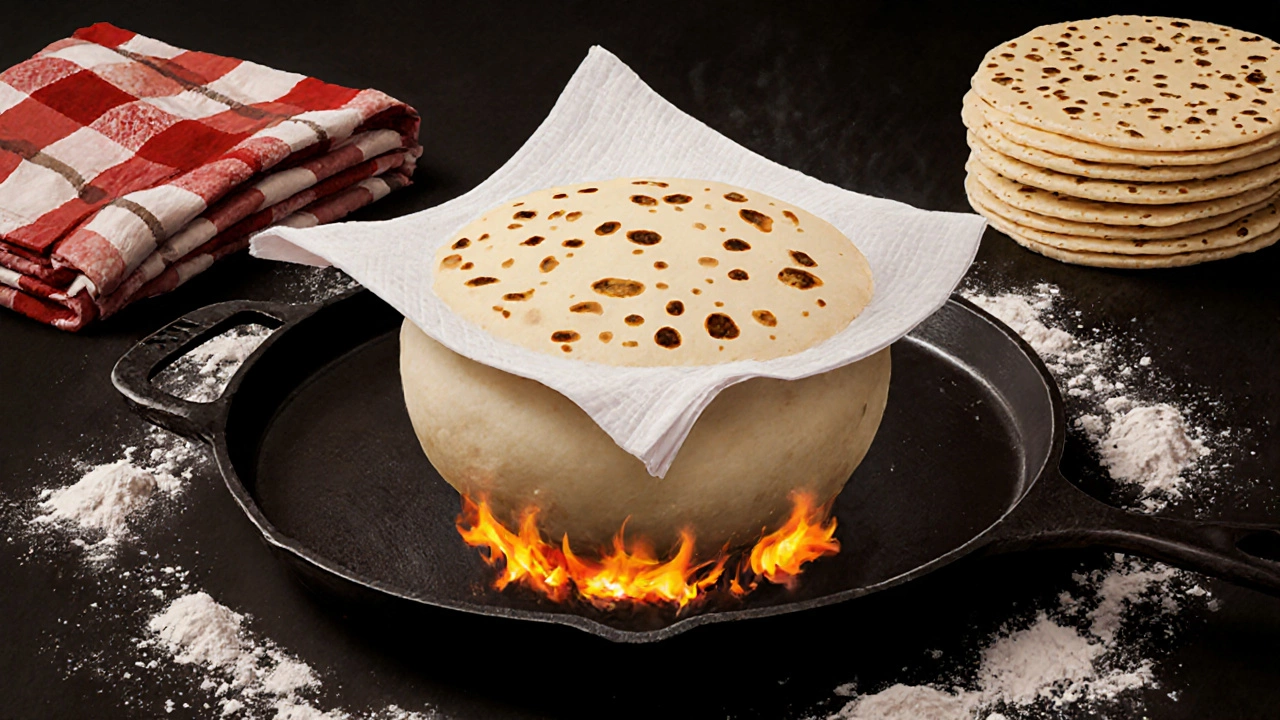
Roll thin, but not too thin
A perfect roti should be about 6-7 inches across and as thin as a credit card. You want it to puff up when cooked, not burn through. If it’s too thick, it stays doughy inside. Too thin, and it tears. Keep rotating as you roll. Check the shape every few rolls. If one side is thicker, roll that side a bit more. Don’t rush. A slow, even roll gives you control. You’ll know you’re doing it right when the roti looks like a perfect circle with no bumps or thick edges.Cook on the right heat
Use a heavy-bottomed tawa (griddle) or cast iron skillet. Preheat it over medium heat. Too hot, and the roti burns before it puffs. Too cool, and it just sits there and dries out. Test the heat by sprinkling a few drops of water-if they dance and evaporate quickly, you’re good. Place the rolled roti on the tawa. Let it sit for 20-30 seconds until the bottom turns pale golden with tiny brown spots. Flip it. Now, let it cook for another 15-20 seconds. Then, flip it again. Press gently with a clean cloth or spatula. If you’re lucky, it’ll puff up like a balloon. That’s the sign of a well-made roti. If it doesn’t puff, don’t panic. Just flip it one more time and press lightly. The heat trapped inside will still soften the center.Keep them soft
As soon as each roti comes off the tawa, stack it in a clean kitchen towel. The steam trapped inside keeps them soft for hours. If you leave them exposed, they’ll dry out and get chewy. For extra softness, rub a tiny dab of ghee on the top of each roti as you stack them. It adds flavor and locks in moisture. Don’t refrigerate them. Cold makes roti stiff. If you have leftovers, reheat them on a dry tawa for 10 seconds per side.
Common mistakes and how to fix them
- Roti tears while rolling? Your dough is too dry. Add a few drops of water next time and knead for another minute.
- Roti doesn’t puff? The tawa isn’t hot enough, or the dough was under-kneaded. Make sure the dough is elastic and the pan is properly heated.
- Roti is too thick in the middle? You’re not rotating enough. Always turn the dough after every roll.
- Roti sticks to the rolling pin? You’ve used too much flour on the surface. Wipe it clean and start over with less.
Why round matters
It’s not just about looks. A round roti cooks evenly. Uneven shapes mean some parts burn while others stay raw. Roundness also means it folds neatly for wrapping curries or scooping dal. In Indian homes, a perfectly round roti is a quiet point of pride. It shows you paid attention-not just to the recipe, but to the rhythm of the process.Practice beats perfection
Don’t expect your first ten rotis to be flawless. Even in India, where roti is made daily, it takes time. My grandmother used to say, "The first roti is always a lesson. The second, a trial. The third, a gift." Stick with it. After five tries, you’ll start to feel the dough. After ten, you’ll roll them without thinking. And after a month? You’ll be the one teaching others.Can I use whole wheat flour instead of atta?
You can, but it won’t be the same. Atta is stone-ground whole wheat flour with the bran and germ intact, and it has a higher gluten content than regular whole wheat flour. Regular flour is often more finely milled and lacks the elasticity needed for roti to puff properly. If you must use regular flour, mix in 1-2 tablespoons of bread flour to boost gluten.
Why does my roti turn hard after cooling?
Hard roti usually means it lost moisture. That happens when you leave it uncovered. Always stack hot rotis under a clean towel to trap steam. Rubbing a tiny bit of ghee on top also helps seal in softness. If they’ve already hardened, reheat them on a dry pan for 10-15 seconds per side-they’ll soften right up.
Can I make roti dough ahead of time?
Yes. You can make the dough and store it in the fridge for up to 24 hours. Let it come to room temperature for 30 minutes before rolling. Cold dough is harder to work with and won’t puff as well. For longer storage, freeze the dough balls in a ziplock bag. Thaw overnight in the fridge before using.
Do I need a tawa to make roti?
A tawa is ideal because it holds heat evenly, but you can use a heavy cast iron skillet or even a nonstick pan. Avoid thin pans-they heat unevenly and burn the roti. The key is a flat, thick surface that stays hot without hot spots.
Why won’t my roti puff up?
Three common reasons: the dough isn’t kneaded enough, the tawa isn’t hot enough, or the roti is rolled too thick. Make sure your dough is elastic, the pan is properly preheated, and the roti is rolled thin (about 1-2 mm). Press gently with the cloth when you see bubbles forming-that helps trap steam inside.
If you’ve tried this before and failed, don’t give up. The difference between a good roti and a perfect one isn’t talent-it’s repetition. Roll one today. Roll two tomorrow. In a week, you’ll be making them without even thinking. And when your family asks, "Who made these?"-you’ll know the answer.